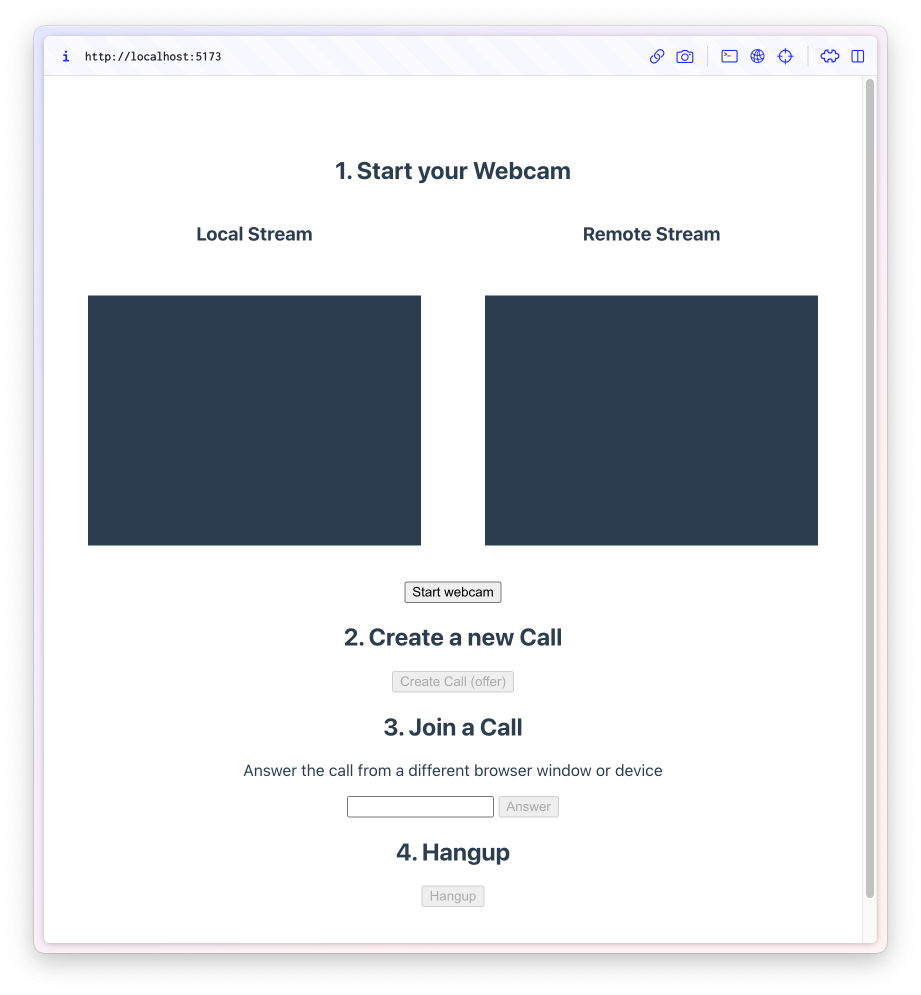
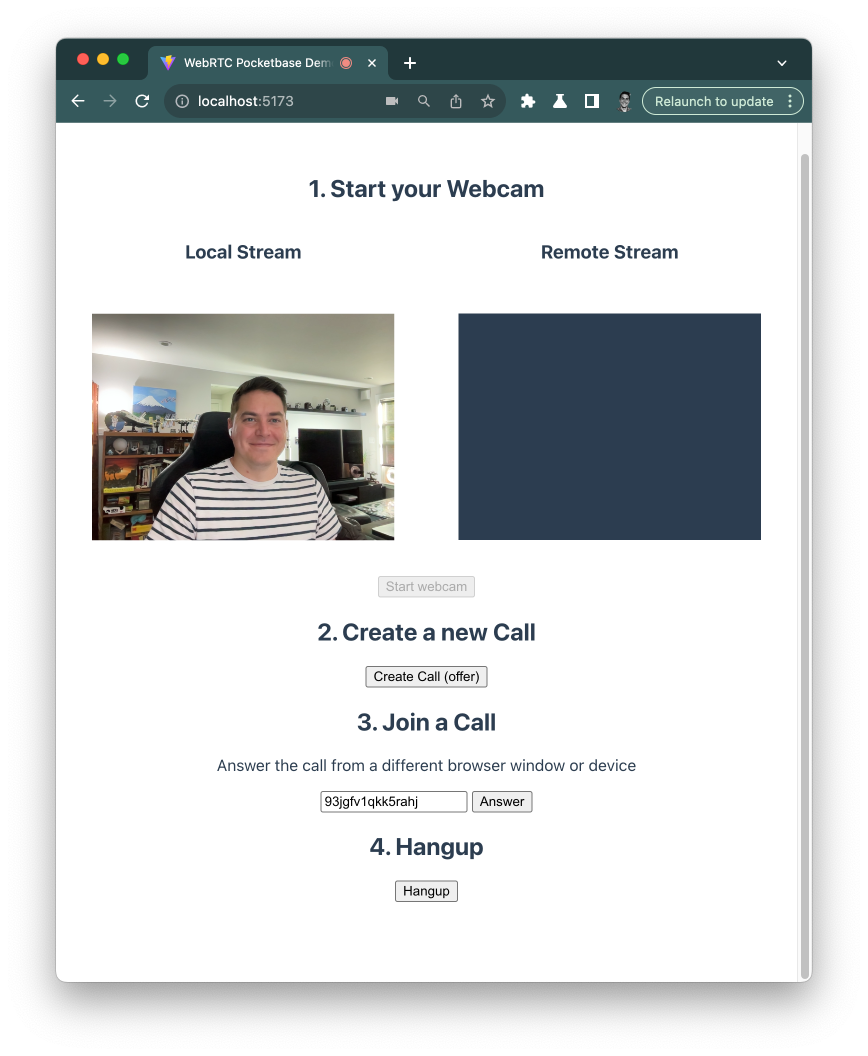
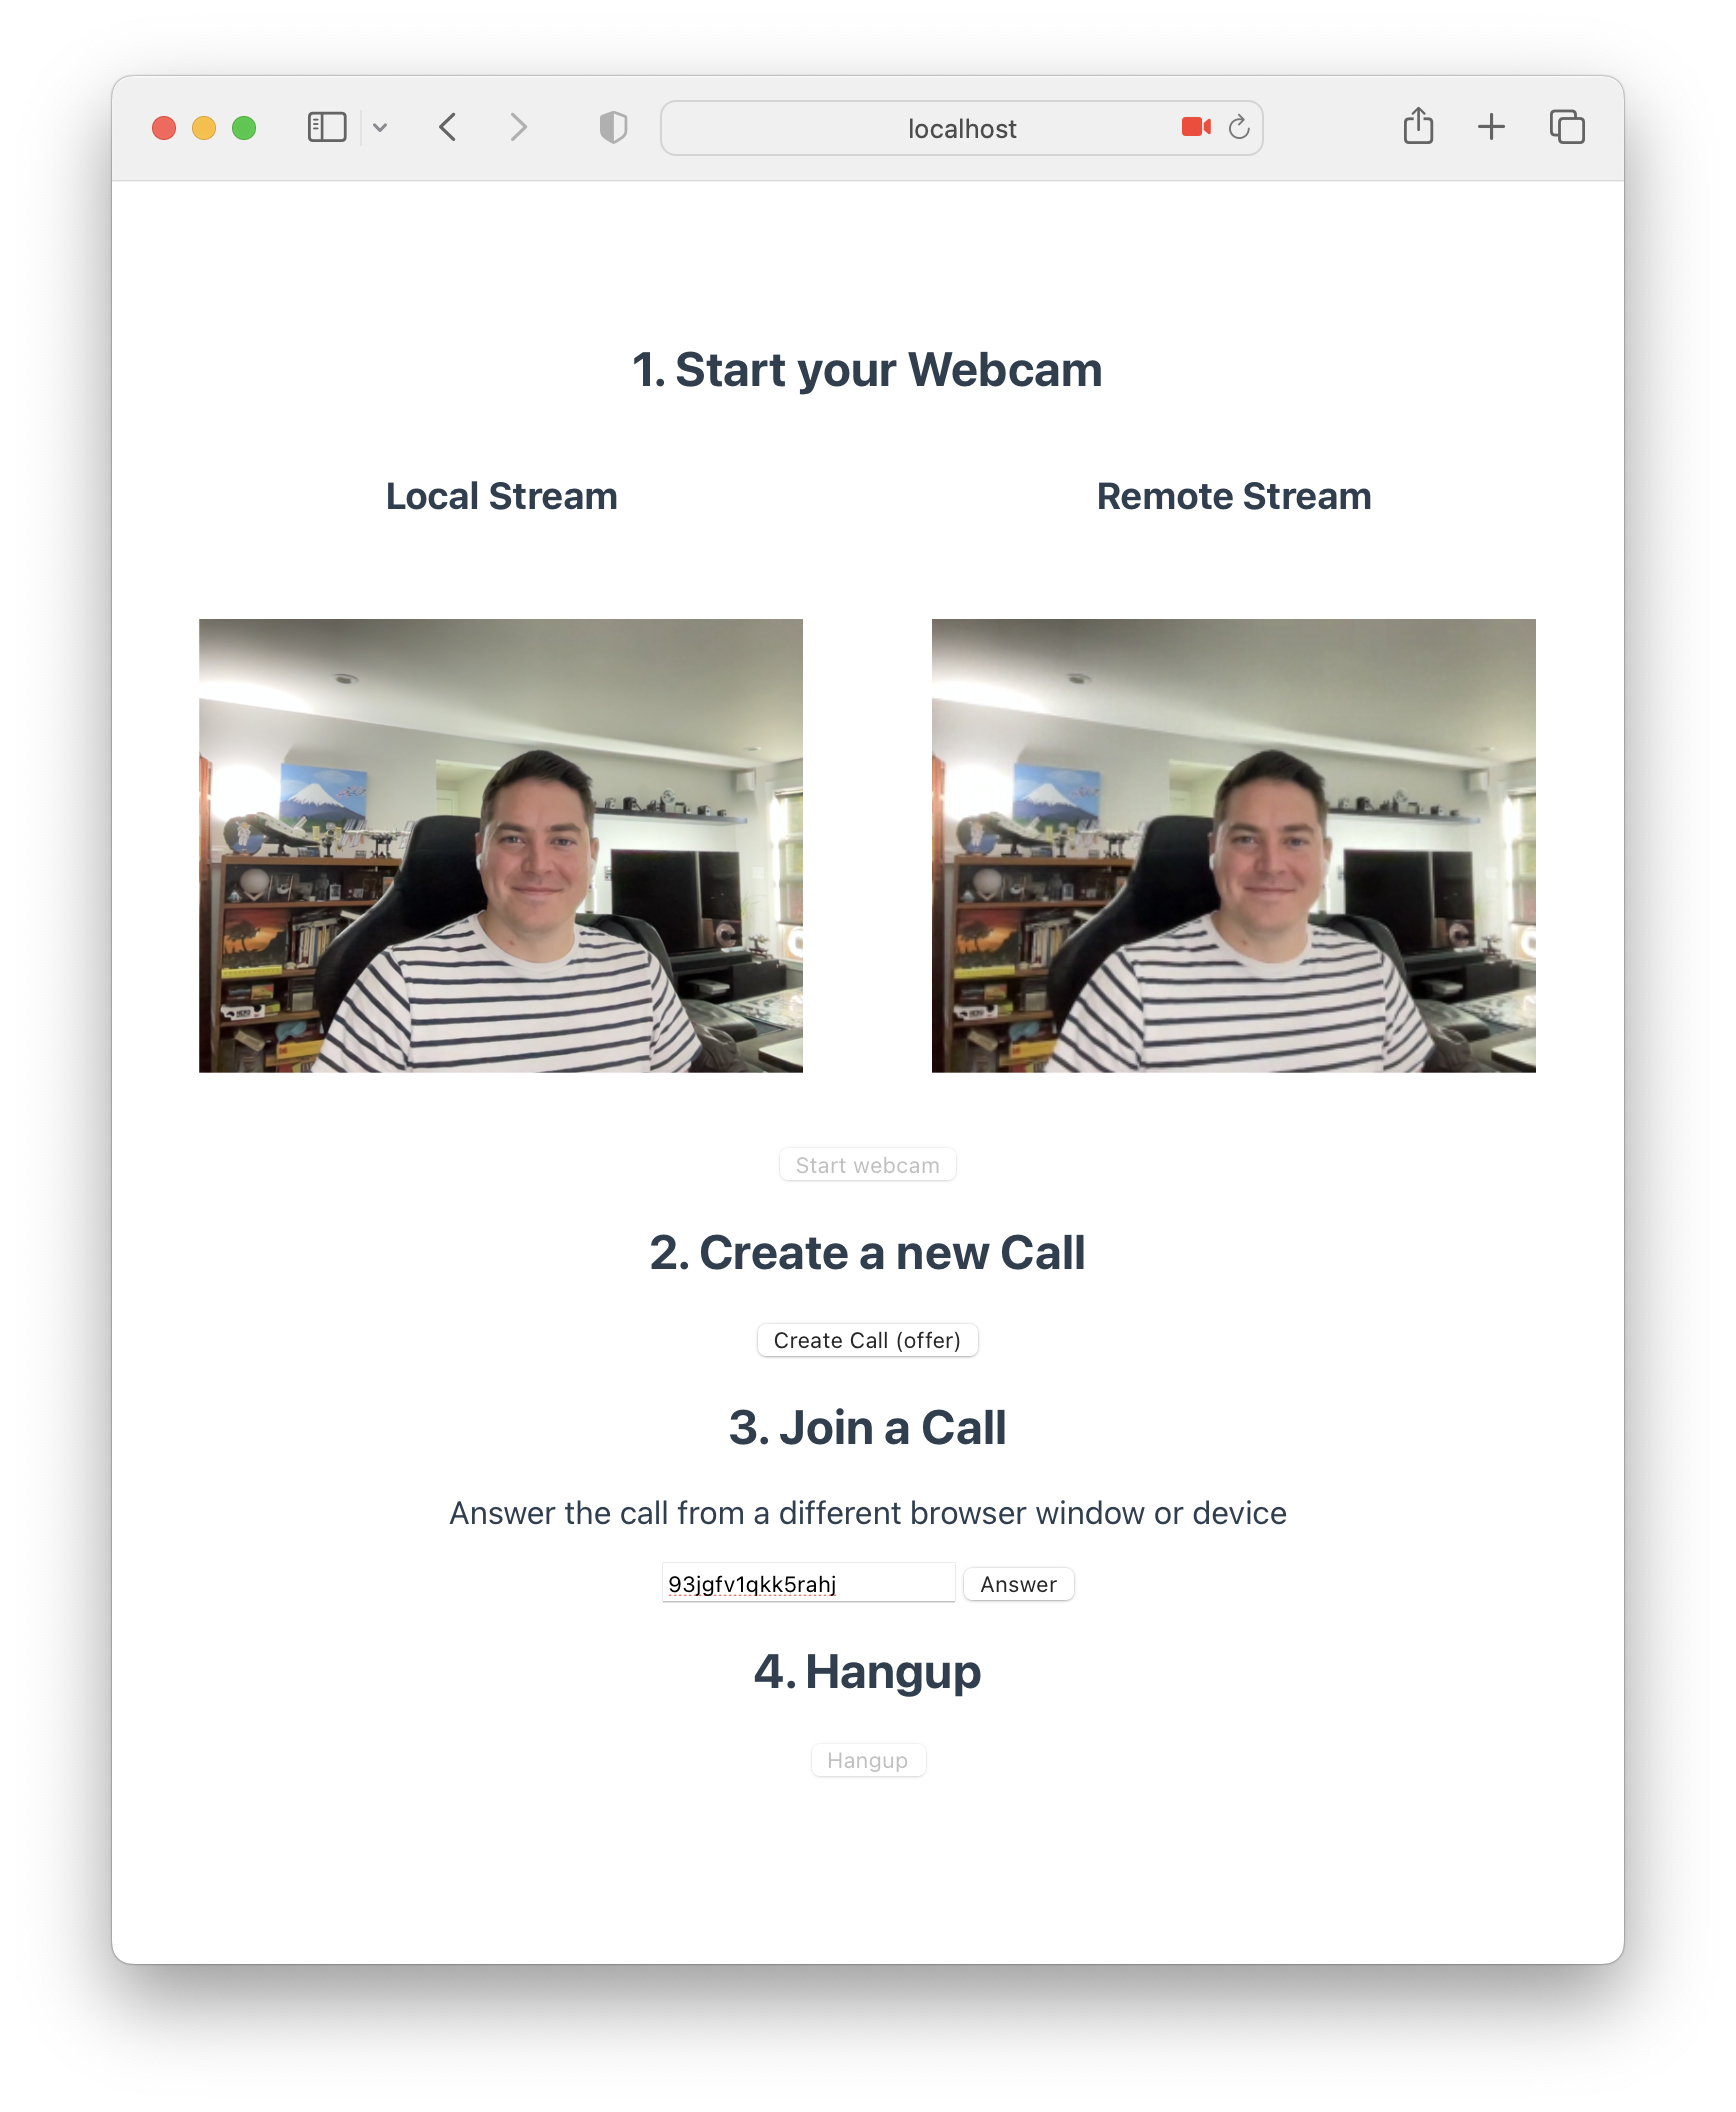
Learn how to build a simple WebRTC video call application using PocketBase as a signaling server, enabling peer-to-peer communication with SQLite on the server and realtime updates via Server Sent Events.
Learn how to build a simple WebRTC video call application using PocketBase as a signaling server, enabling peer-to-peer communication with SQLite on the server and realtime updates via Server Sent Events.
metadata
{"url":"https://rodydavis.com/posts/pocketbase-webrtc-signal-server-js","last_modified":"Tue, 03 Feb 2026 20:04:35 GMT"}
How to Build a WebRTC Signal Server with PocketBase
Overview
If you are new to WebRTC then I suggest checking out this great Fireship video on WebRTC in 100 seconds:
Also if you are looking for a Firebase example then check out this repository which this example is largely based on.
Download PocketBase and create a new directory that we will use for the project.
mkdir webrtc-pocketbase-demo
cd webrtc-pocketbase-demo
Copy the PocketBase binary into the directory you just created under a sub directory .pb. If you are on MacOS you will need to allow the executable to run in settings.
Start the PocketBase server with the following command:
.pb/pocketbase serve
If all goes well you should see the following:
2023/11/04 15:10:56 Server started at http://127.0.0.1:8090
├─ REST API: http://127.0.0.1:8090/api/
└─ Admin UI: http://127.0.0.1:8090/_/
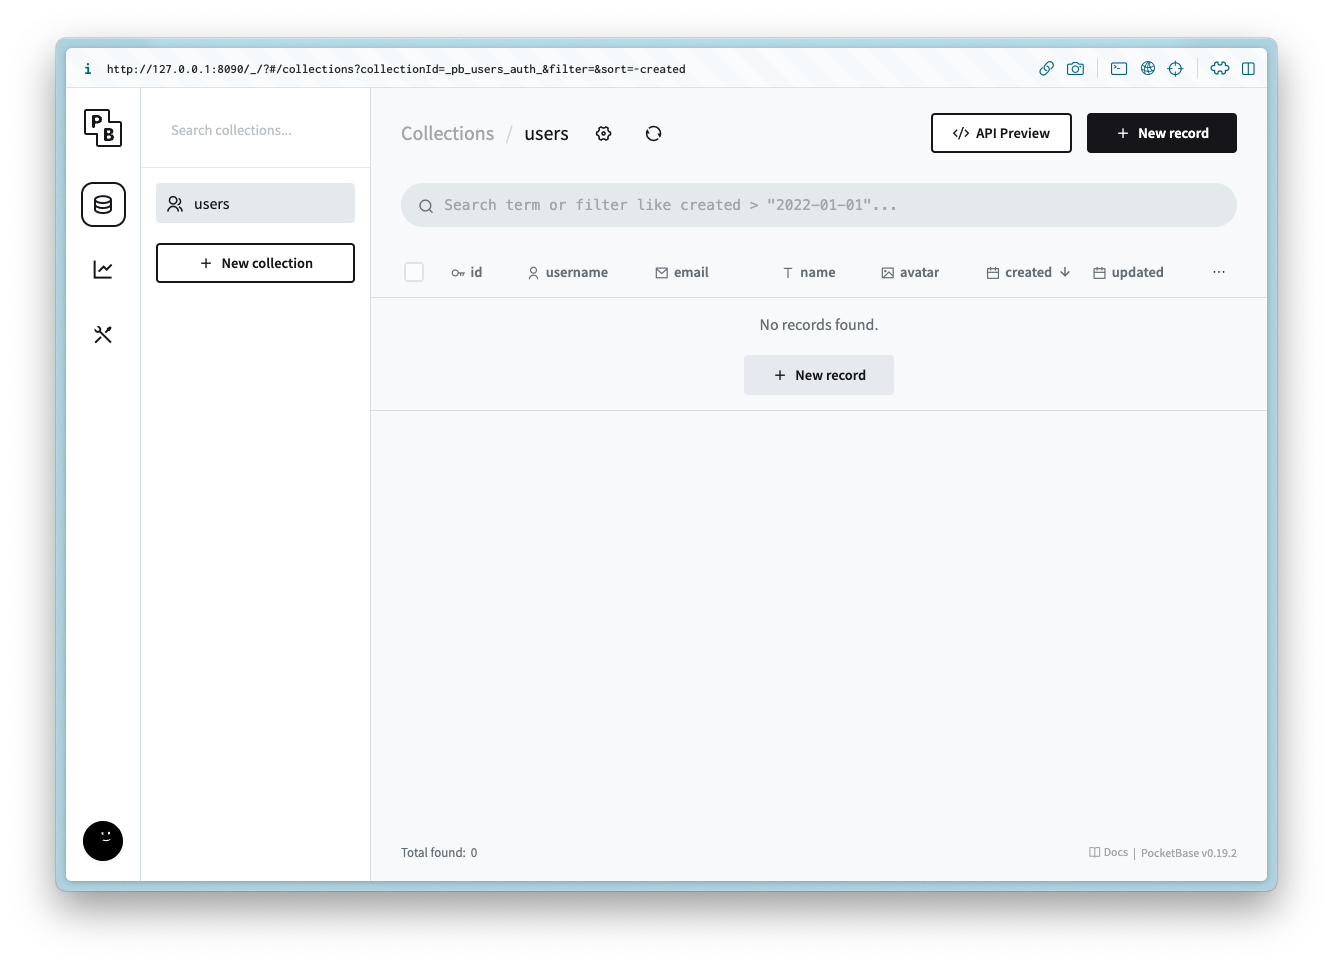
Open up the Admin UI url and create a new username and password.
For this example the email and password will be the following:
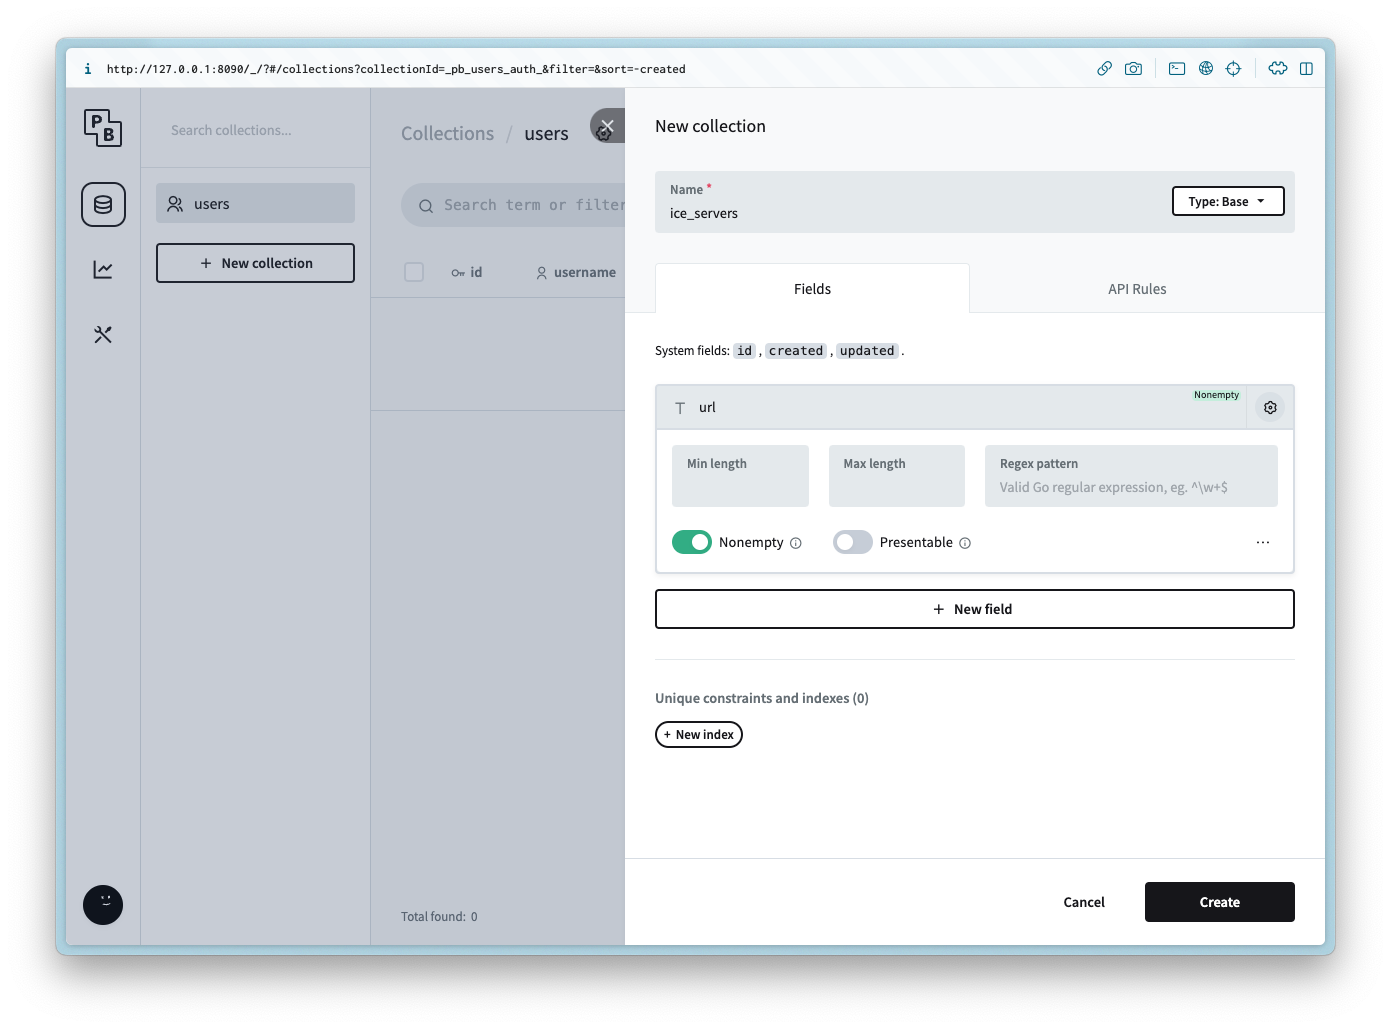
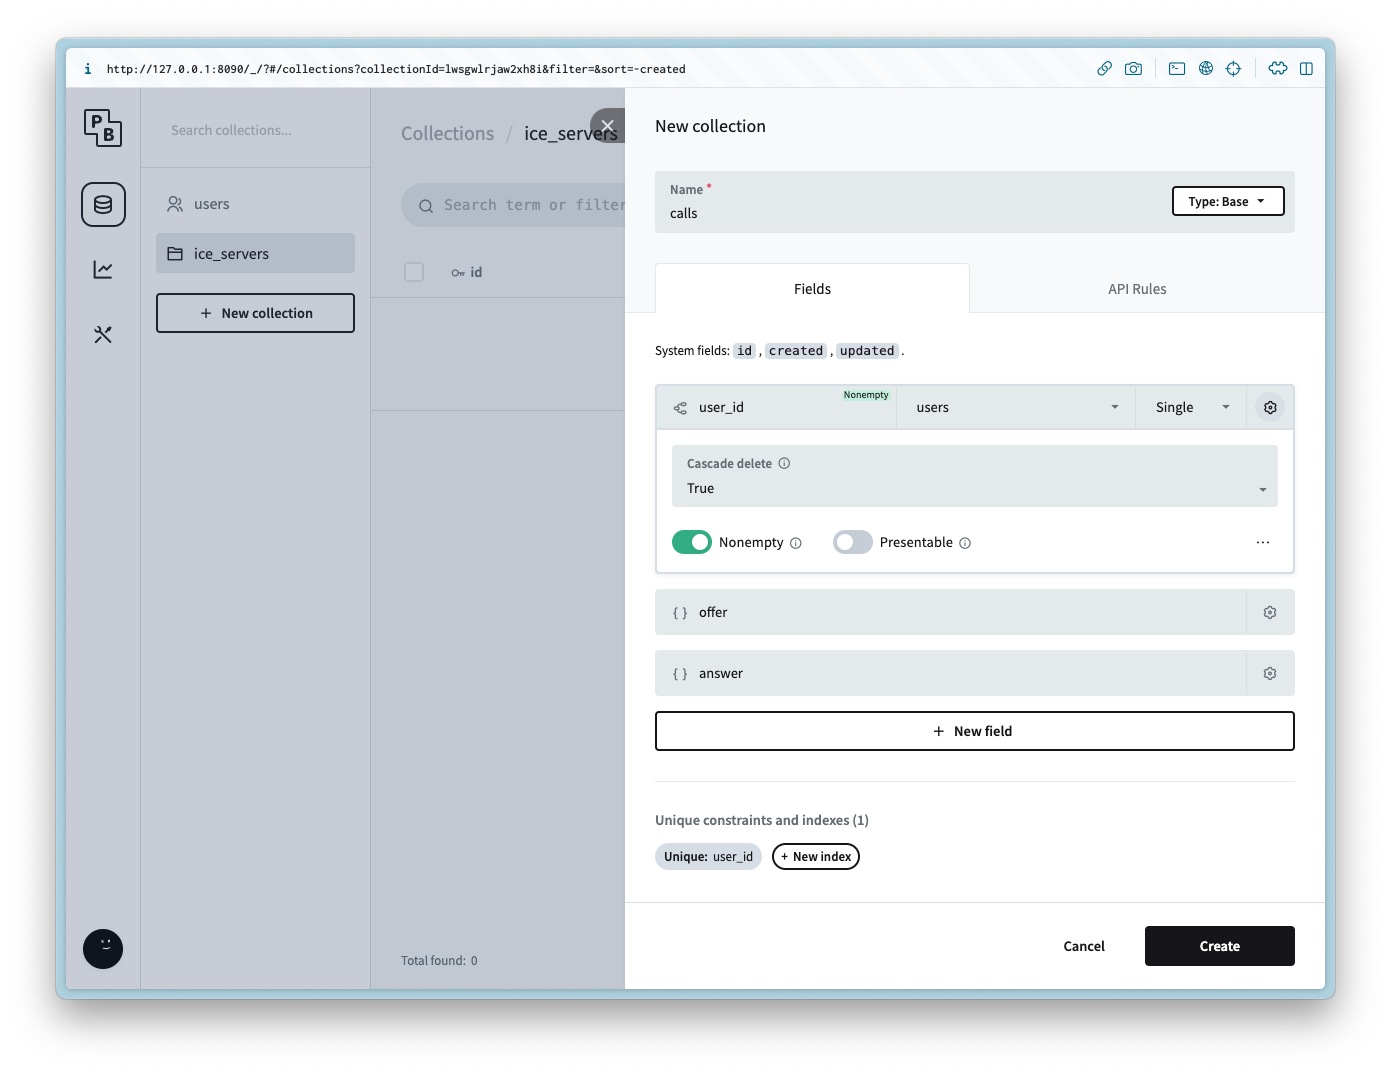
Create a new collection named calls with the following columns:
Column Name
Column Type
Column Settings
user_id
Relation
Non empty, users, Cascade delete is true
offer
JSON
answer
JSON
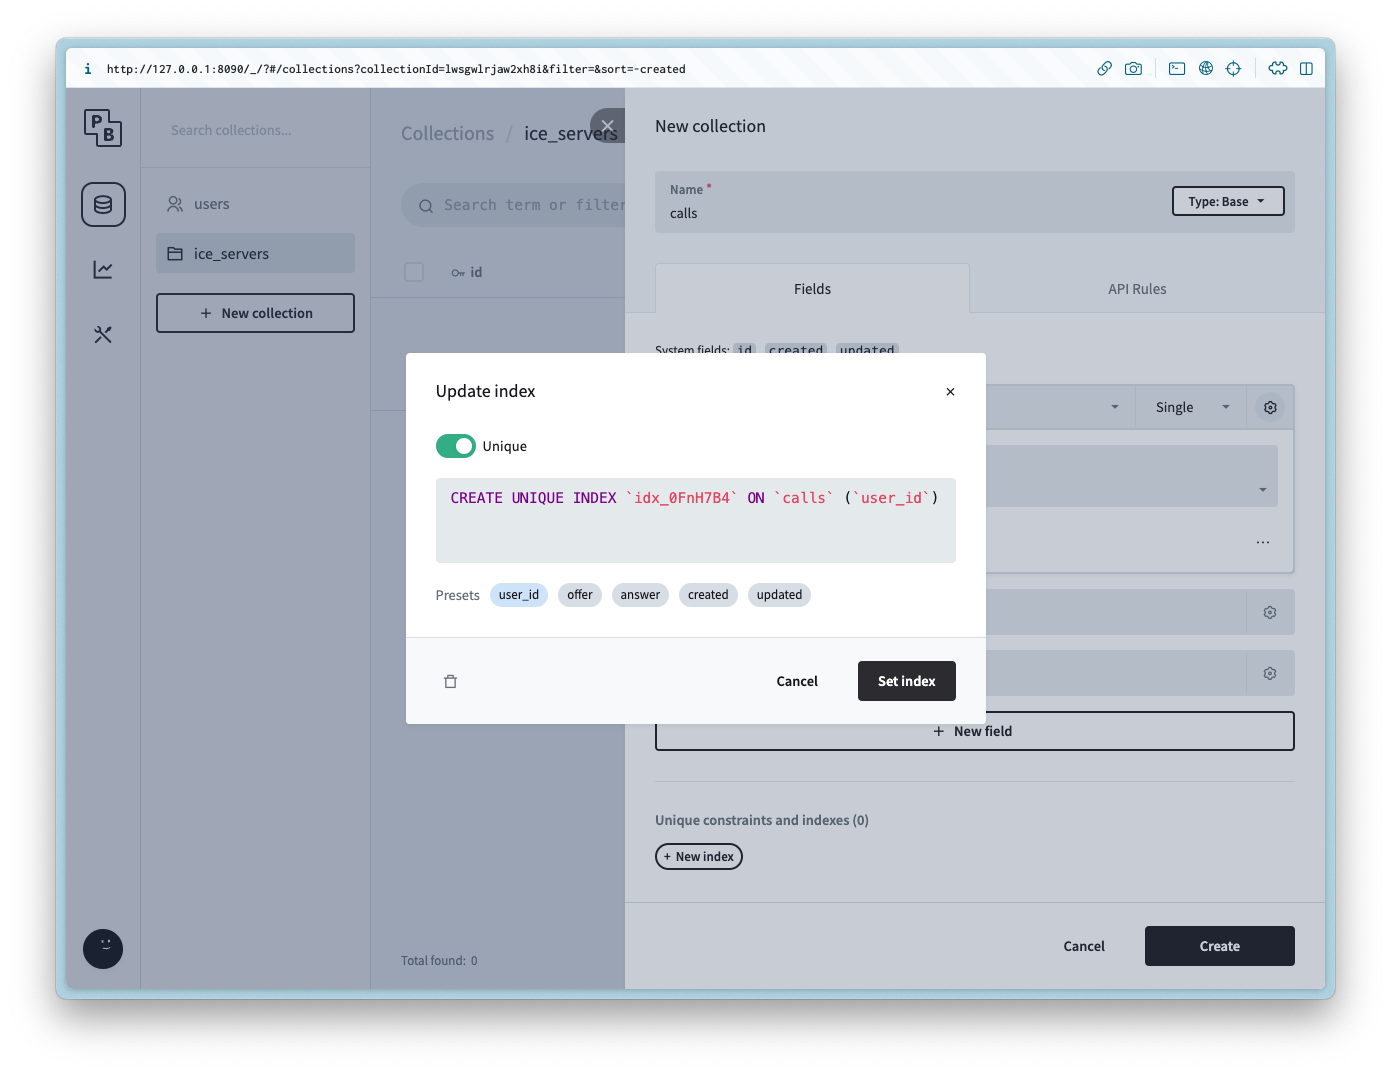
it is also possible to limit the user to one call each by setting the Unique constraint on the user_id column.
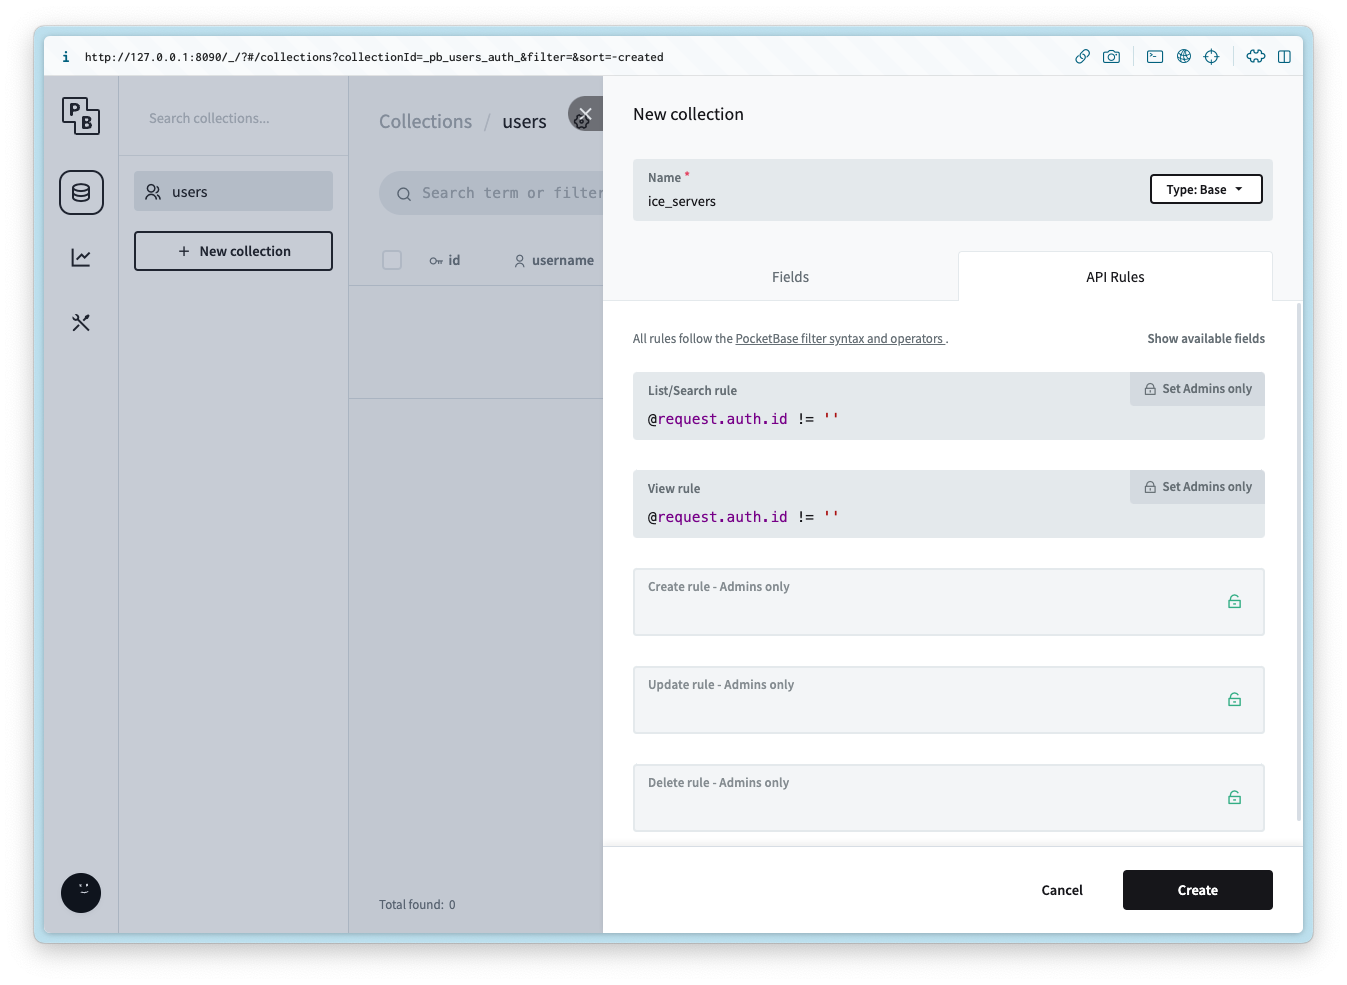
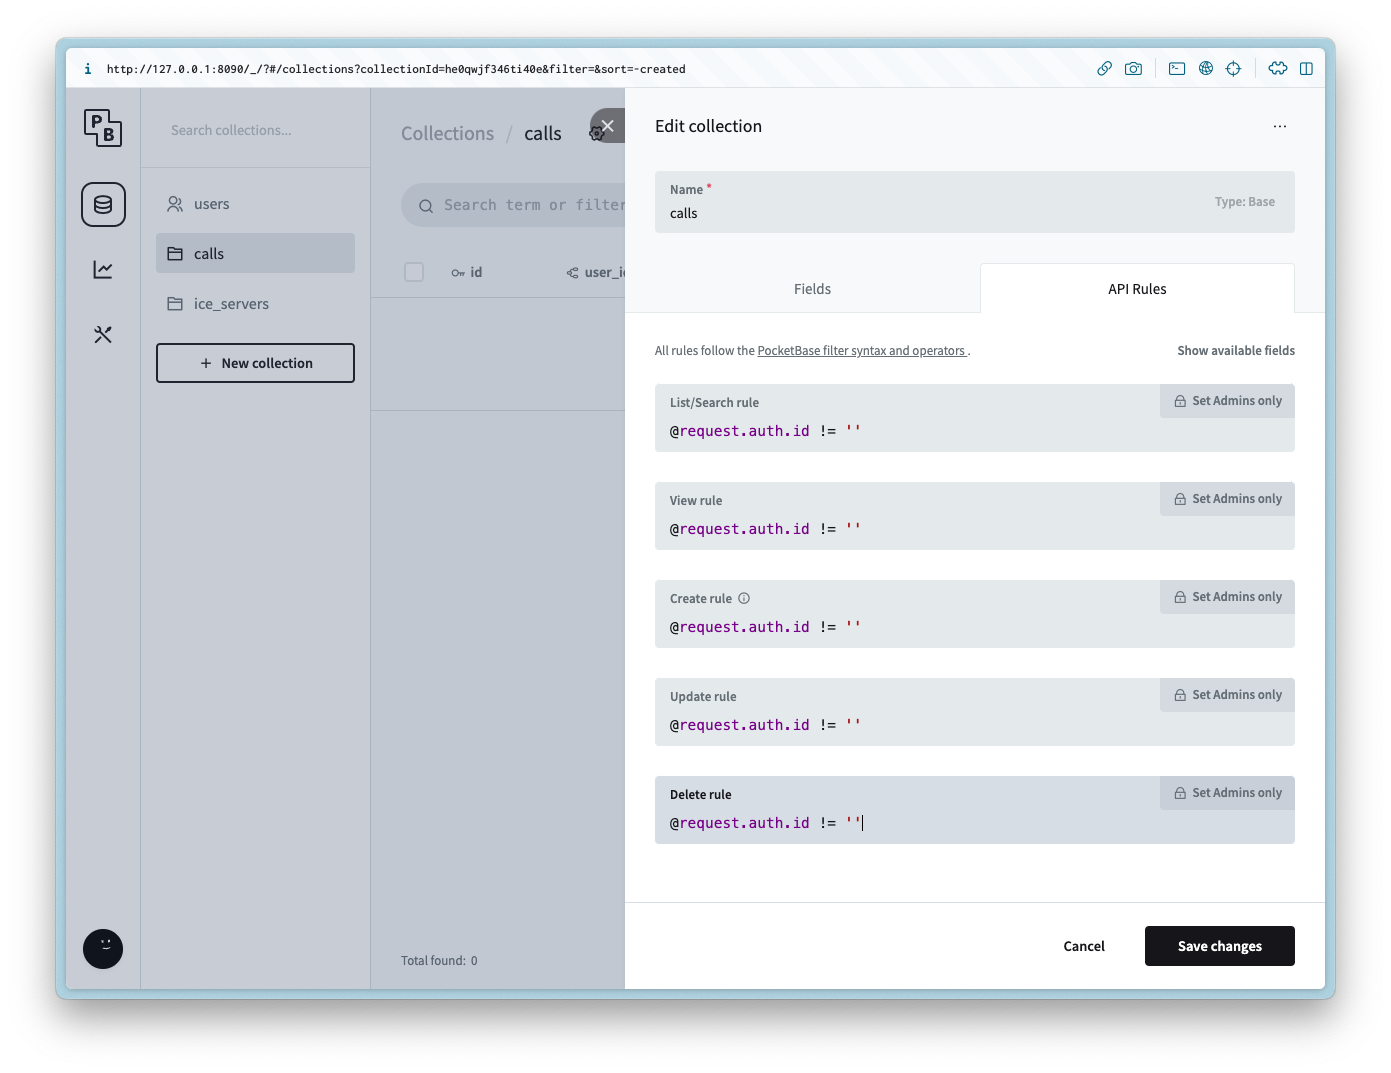
Add the following API rule to all of the methods:
@request.auth.id != ''
offer_candidates
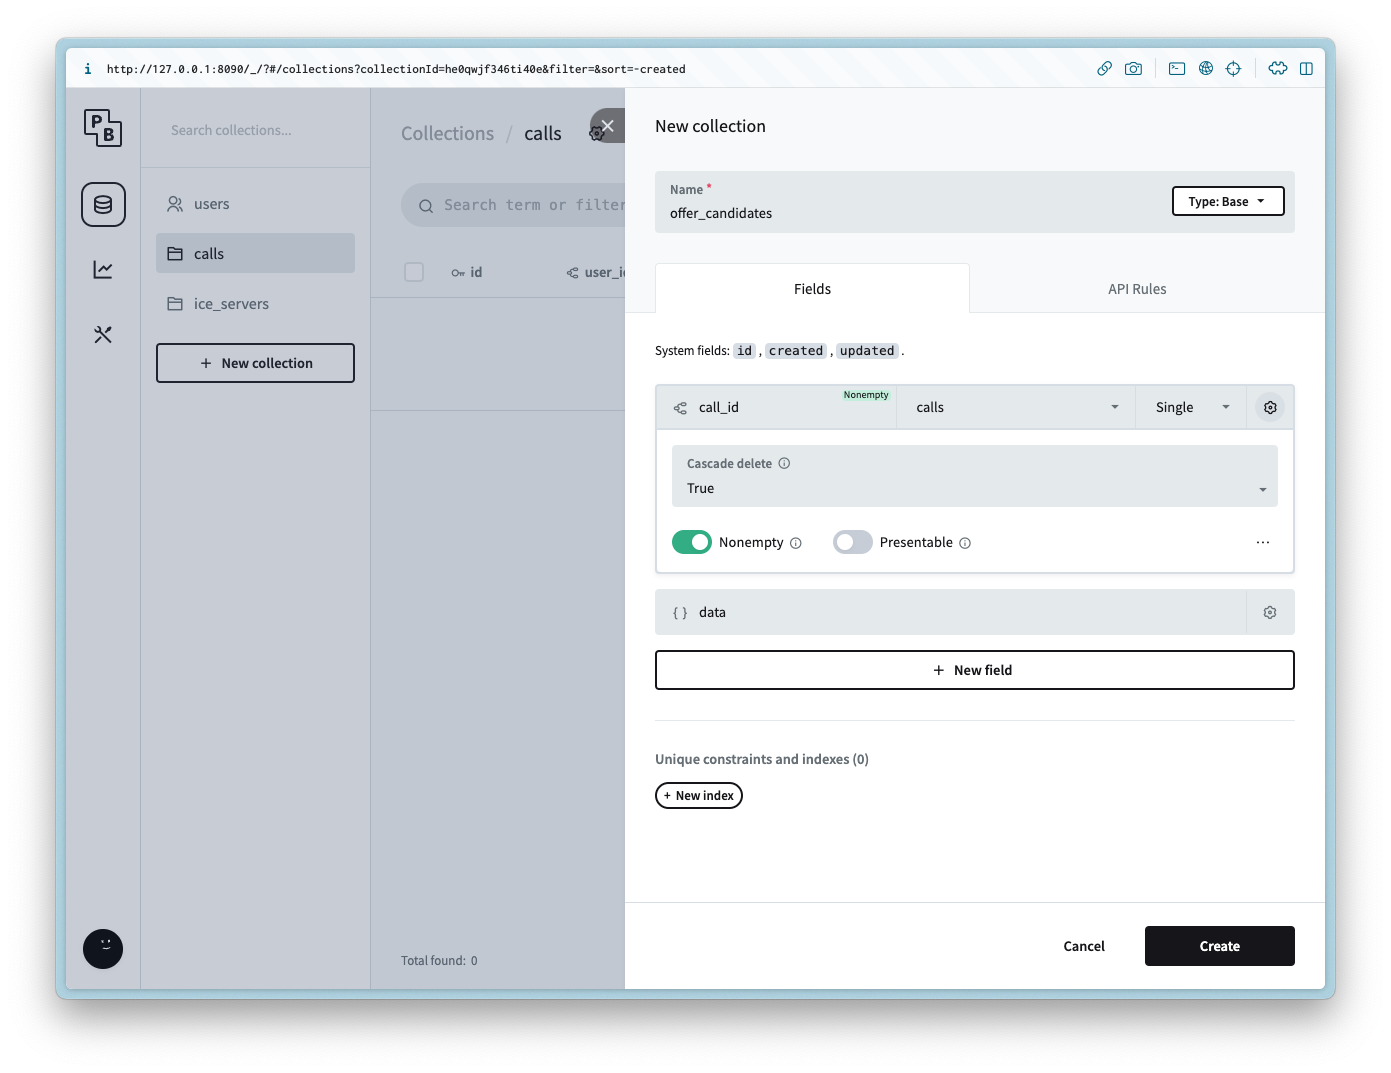
Create a new collection named offer_candidates with the following columns:
Column Name
Column Type
Column Settings
call_id
Relation
Non empty, calls, Cascade delete is true
data
JSON
Add the following API rule to all of the methods:
@request.auth.id != ''
answer_candidates
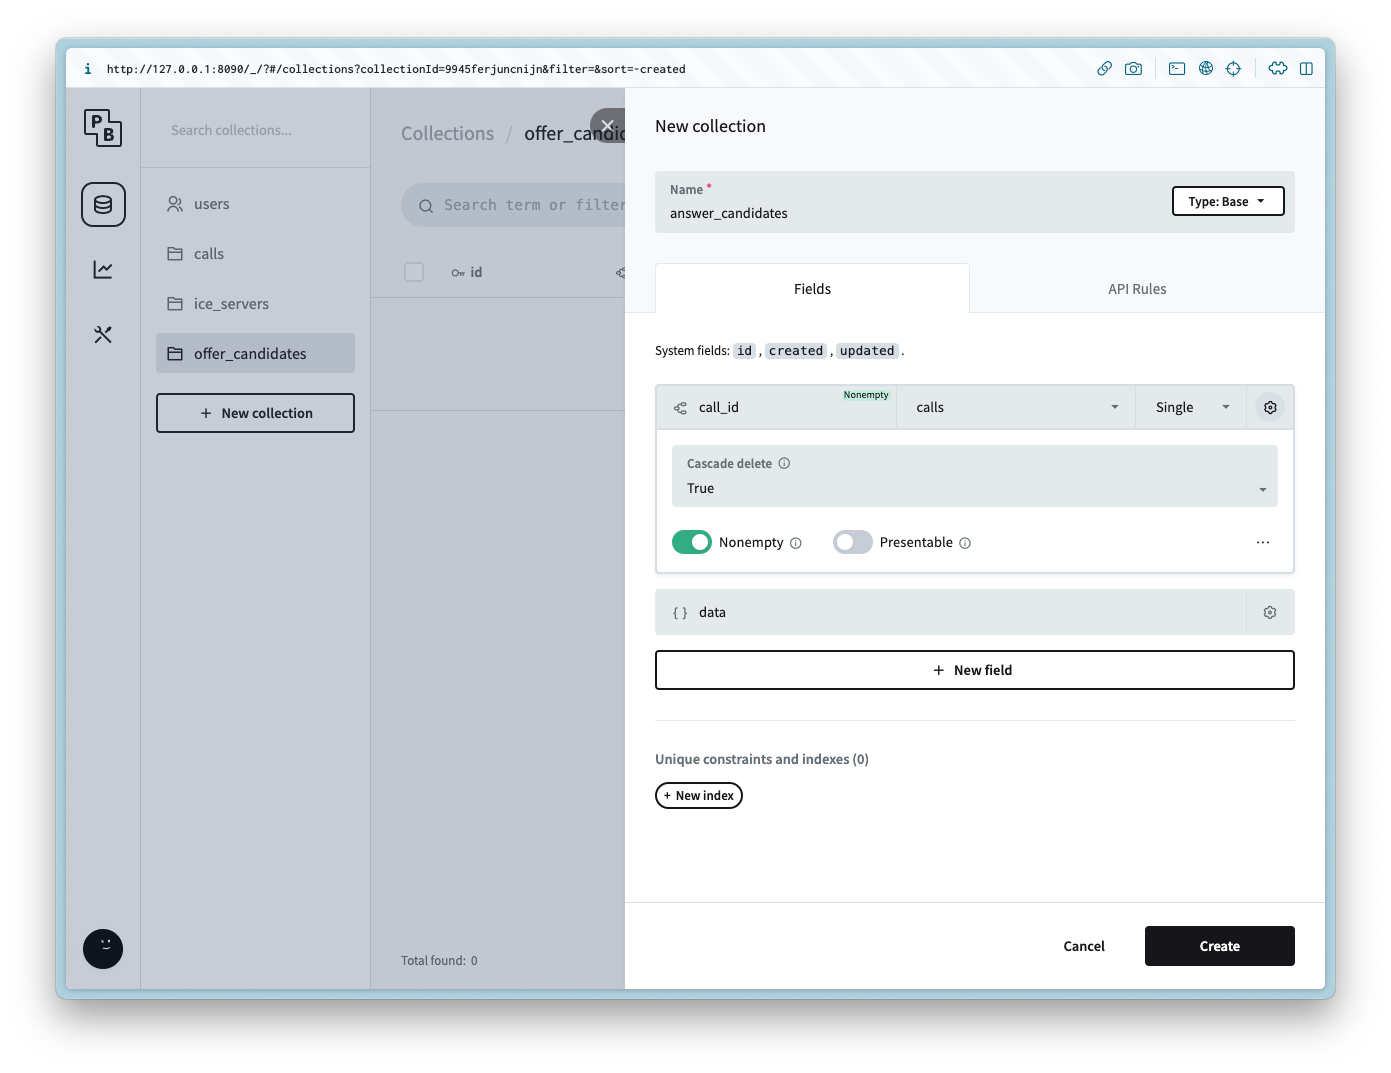
Create a new collection named answer_candidates with the following columns:
Column Name
Column Type
Column Settings
call_id
Relation
Non empty, calls, Cascade delete is true
data
JSON
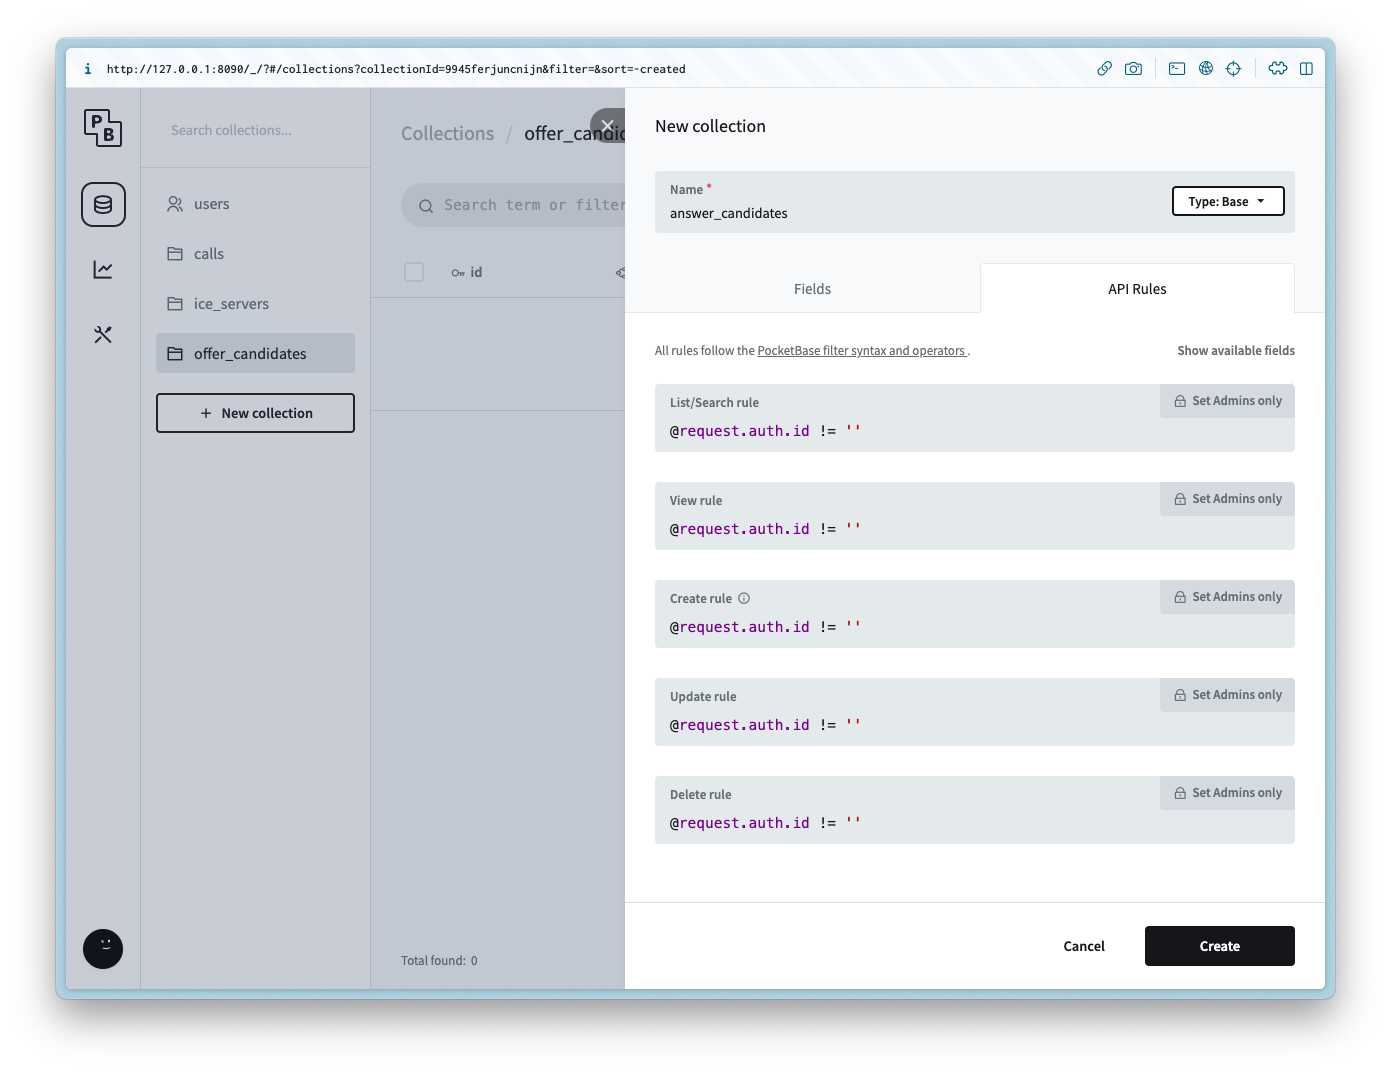
Add the following API rule to all of the methods:
@request.auth.id != ''
users
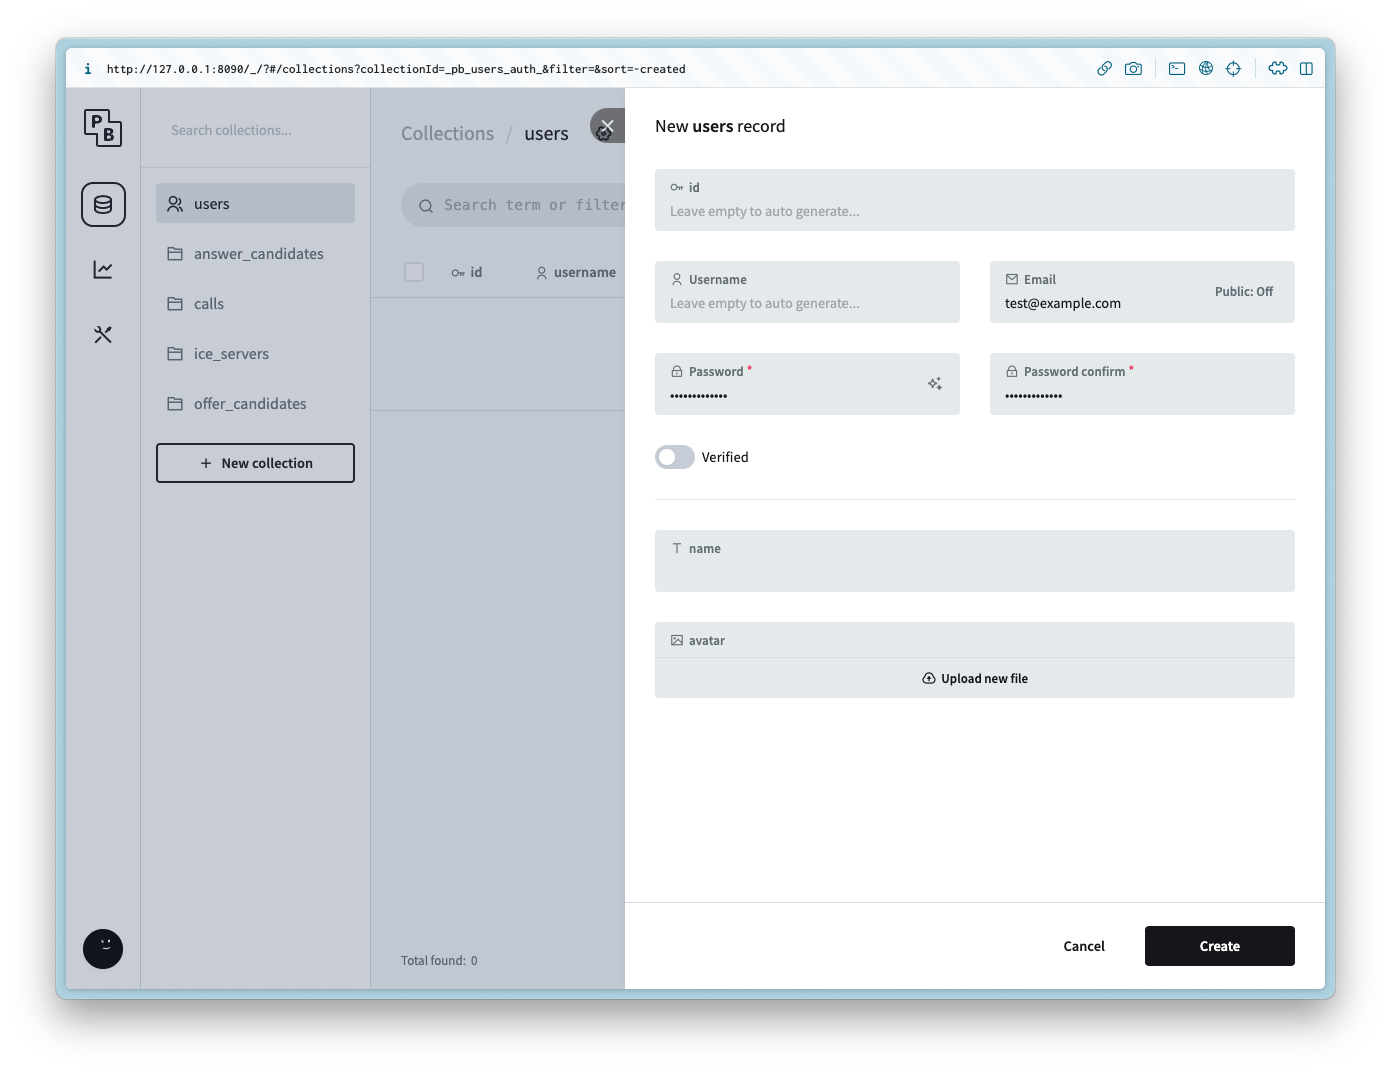
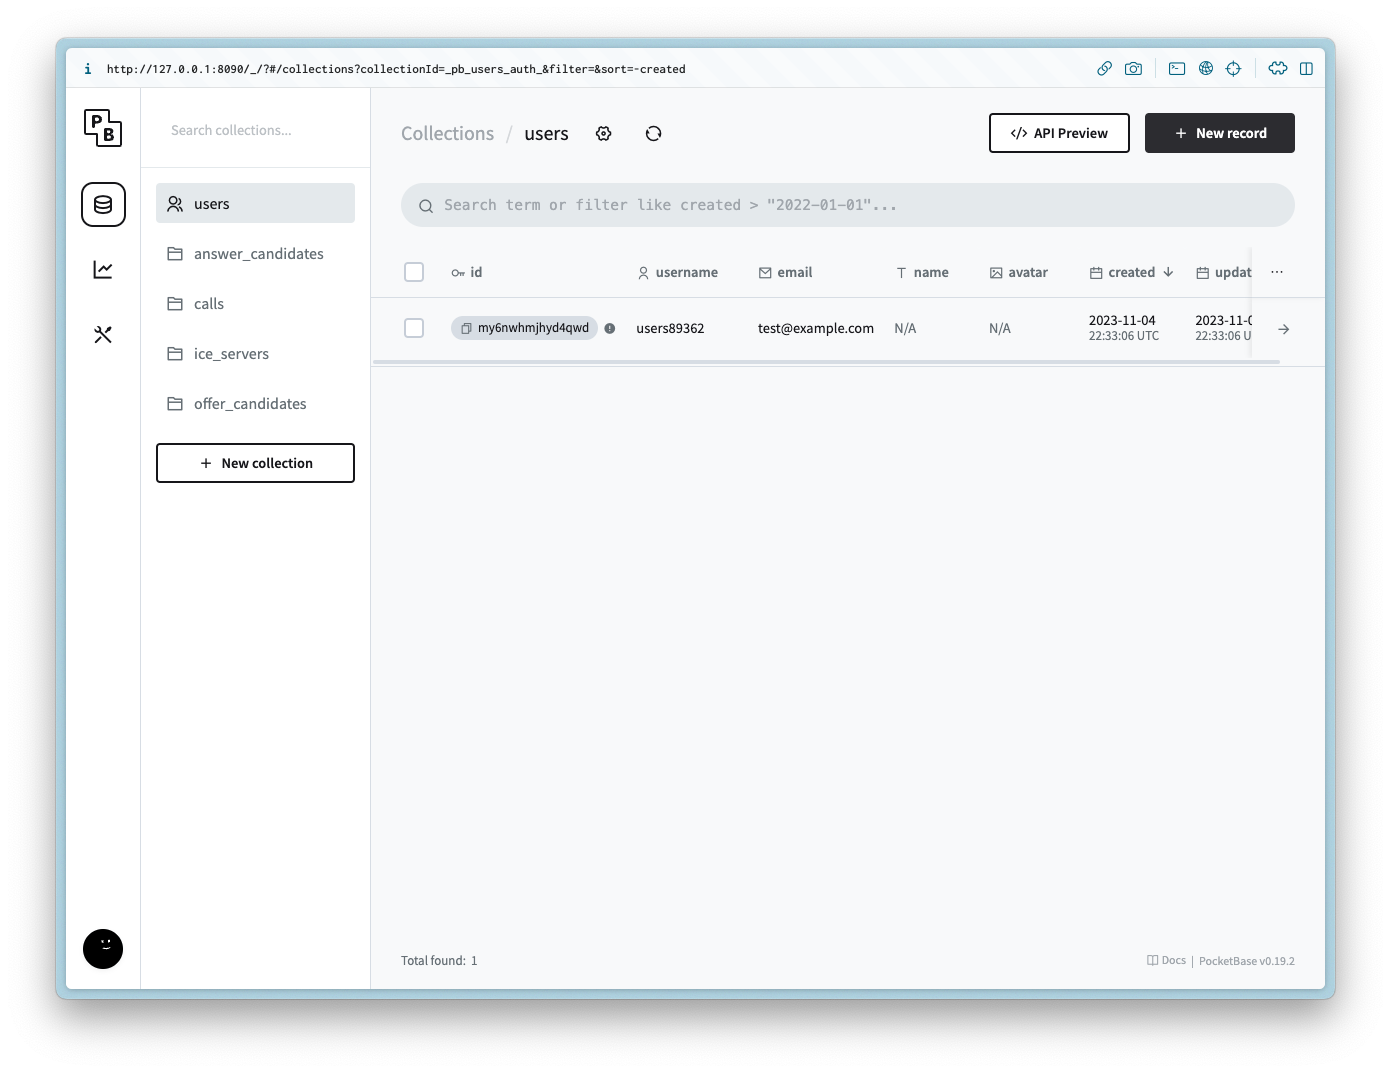
For demo purposes we will not be including an auth form for the user, but to make the example simple create a new user with the same login info for the admin.
Setting up the client
Navigate to the directory and run the following commands to get started: